If you’re trying to find b-roll in long video clips, you already know the problem: screen recordings, camera clips, raw footage from 3 projects ago, and no way to search any of it.
This article covers 4 methods for searching your own b-roll: AI visual search, transcript search, markers and bins, and NLE keyboard shortcuts.
If you’re looking for stock b-roll from Pexels or Storyblocks, that’s a different article.
Let’s start with the best method for most footage libraries: AI visual search.
AI visual search lets you search footage by description. You type “analytics dashboard walkthrough” or “aerial shot of coastline,” and the tool returns matching clips with exact timestamps.
No manual tagging required to get there. Different tools approach this in different ways: some analyze frames to tag elements, and some combine visual analysis with a timestamp description.
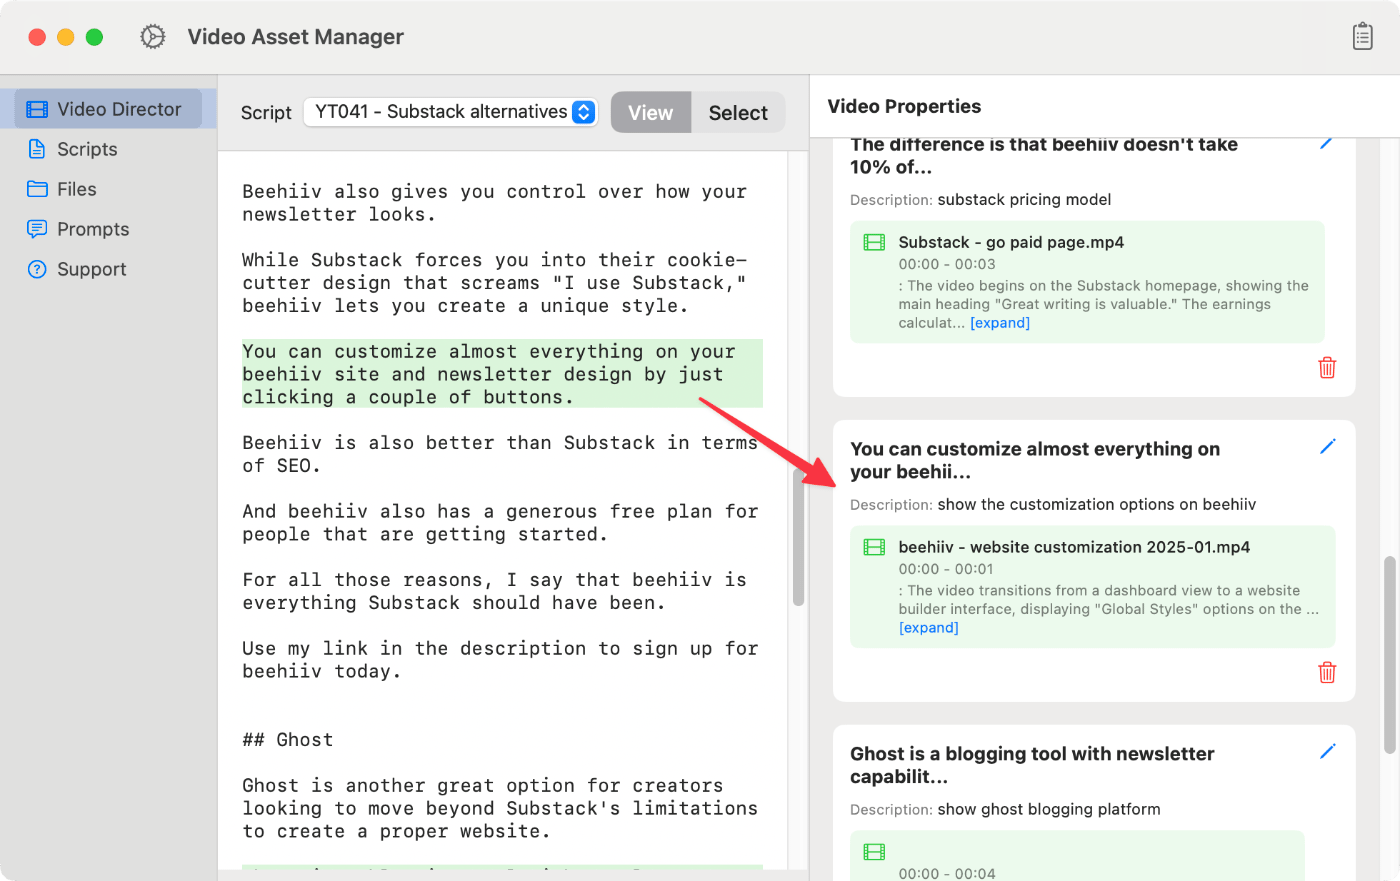
Video Asset Manager is a macOS app that analyzes videos using AI and produces a detailed timeline of what happens in the video.
The app runs this b-roll logging process and store the text results in a local database, allowing users to find the clips later. When the user needs to find the b-rolls, they do a direct search on the database or make a script aware-search using the Video Director feature.
With the Video Director, the user selects a script segment and writes the b-roll description they want. This triggers a search using AI that shows the best 5 b-roll options for that script text.
Vindexr searches footage using both visual analysis and transcripts. It exports directly to DaVinci Resolve and Premiere Pro via EDL and XML, supports R3D and BRAW (macOS only), and runs on a subscription.
Focus adds OCR search alongside semantic video analysis, which makes it particularly useful for screen recordings of software and UI where text appears on screen. It runs on Mac and Windows. At $89–149 one-time, it processes roughly 1 hour of footage in 46 minutes on Apple Silicon and exports to Premiere, Resolve, and Final Cut.
Cloud-based tools like WayinVideo, Choppity, and ScreenApp offer video search, but they’re built for single files: one podcast episode, one meeting recording. The AI video editing tools article has more useful tools to assist with the video creation process, including how to generate b-rolls among other tasks.
Transcript search lets you search inside video by matching spoken words to timestamps. This is made possible with Automatic Speech Recognition (ASR) that converts audio into searchable text. You type a phrase and it jumps to that frame.
This works for any footage where the content is identifiable by what was said: interviews, voiceovers, talking-head recordings, tutorials. If someone mentioned a topic 40 minutes into a 2-hour interview, by writing the keyword, the tool shows every match. The same applies for any audio clip.
Most editors already have access through their NLE. Premiere Pro’s transcript panel lets you search a word, click the result, and jump to that frame. DaVinci Resolve’s built-in speech-to-text does the same in the Studio version.
Descript is another tool that builds the entire editing workflow around the transcript instead of treating it as a search layer on top of the timeline. You edit the video by editing text. Cloud tools like ScreenApp also offer transcript search for uploaded files, relevant for editors who want to search through video footage outside a traditional NLE.
For footage with speech, a transcript search is one of the fastest ways to find a specific clip in a video. The transcript is usually ready in minutes, and every spoken word becomes searchable from that point on. No tagging, no folder systems, no scrubbing.
Most b-roll has no dialogue, like drone footage, screen recordings, and product close-ups, which don’t have an audio track for ASR to transcribe. And sadly, these are the clips editors spend the most time hunting for. Transcript search is mostly used for interviews and talking-head videos, but not for visual-only b-rolls.
Markers and bins are the most common way to find a specific clip in a video using your NLE’s built-in tools. Scrub through footage once, drop a marker at each usable moment with a short note, then search those markers during the edit.
Every major NLE supports this. Premiere Pro, DaVinci Resolve, and Final Cut Pro all let you attach text notes to timestamps on a clip or timeline position.
Subclips serve a similar purpose at the clip level: set in/out points on a longer source file to create a virtual shorter clip. A 30-second usable segment inside a 45-minute recording becomes its own item in the bin.
Color-coded labels add a visual filtering layer. Assign different colors to different content types (interviews in blue, b-roll in green, screen recordings in yellow) and filter the bin by color during editing. For editors who log consistently, this system works well within a single project.
Bins are folders inside the NLE project. Smart bins in DaVinci Resolve and search bins in Premiere auto-populate based on metadata: clip name, marker text, color label, etc. Set up a smart bin for “screen recording”, and it fills itself as clips get logged.
The problem is where all this logging lives. Markers, bins, and smart bins exist inside the NLE project file, and they don’t travel with the footage. A clip logged with detailed markers in a January project is completely invisible when you open a new project in July: no markers, no bin assignments, no metadata carried over.
Footage accumulates across projects over months and years, and most of it ends up effectively untagged from the current project’s perspective. Even editors who log thoroughly hit this wall. Organizing your video footage and b-roll with folders helps with broad categories ,but can’t tell you what’s in each clip.
For editors working on a single project who need to find clips in long recordings, markers and bins are efficient and enough. The cross-project limitation only matters when footage needs to be findable in future work.
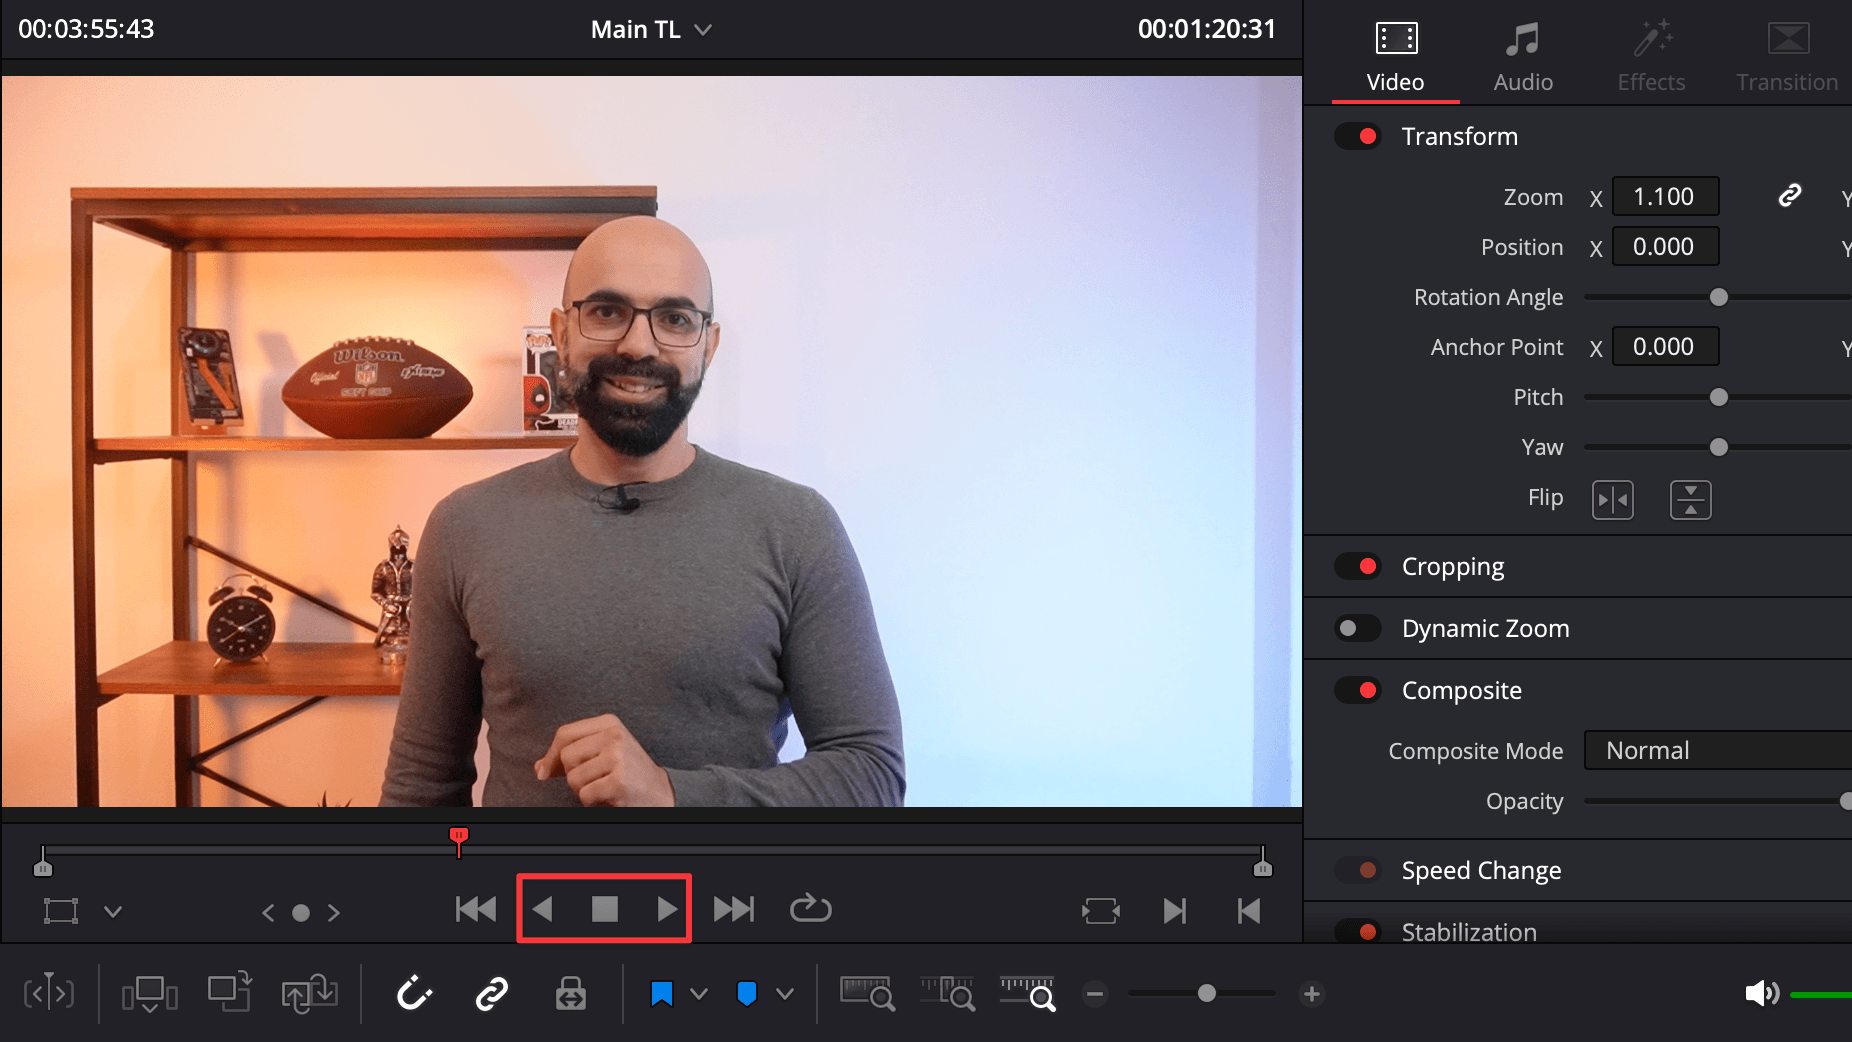
Scrubbing through footage faster comes down to a handful of keyboard shortcuts and NLE features that most editors never touch. Your NLE can do more than you think.
J, K, and L are the core scrubbing keys in video editing software (Premiere Pro, DaVinci Resolve, Final Cut Pro, and Avid).
J plays in reverse, K stops, L plays forward. Tapping L multiple times increases playback speed in steps: 2x, 4x, 8x.
But the real trick is holding K while pressing J or L, which gives frame-accurate slow-motion scrubbing in both directions. This is the most precise way to step through footage without reaching for the mouse.
Premiere Pro has a feature called Source Tape that concatenates all clips in a bin into one continuous stream in the Source Monitor. Instead of double-clicking each clip to load and review it, you scrub through everything in sequence as if it were one long video.
Final Cut Pro takes a different approach with skimming: hovering the mouse over a clip in the browser plays it in real-time without clicking. Combined with filmstrip view, where clips display as horizontal thumbnail strips, you can visually scan a large number of clips without opening any of them.
DaVinci Resolve has something similar when hovering over thumbnails in the media pool, though it’s less fluid than FCP’s implementation.
Fast playback at 4x or 8x is viable for visual scanning of long clips, but only if the footage plays back smoothly. 4K and higher-resolution footage can stutter at high playback speeds on most computers.
Proxy workflows solve this: you edit with lower-resolution copies and relink to full-res for export. That makes fast scrubbing through high-resolution footage practical on any hardware.
Scrubbing works well when you recorded the footage yourself and remember roughly what’s in the video, or when the total volume is small enough to skim in one sitting. If you have more than a few hours of total footage, the time spent scrubbing stops making sense.
It also breaks down when someone else recorded the footage: team handoffs, archived projects, and clips from other editors. At that point, scrubbing is a fallback for quick checks, not something you’d build a search workflow around.
How to find b-roll in long clips depends on what kind of footage you have, how much of it, and whether you’ll need those clips again in future projects.
For footage with dialogue (interviews, podcasts, tutorials), transcript search is the fastest option regardless of library size. Even on a short project, searching for a word and jumping to that frame beats scrubbing through the recording. Premiere Pro, DaVinci Resolve, and Descript all have transcript search.
For visual b-roll (screen recordings, drone shots, product close-ups, etc.), AI visual search is the best fit. There’s nothing on the audio track for the transcript search to find. Screen recordings alone make up a huge share of b-roll in tech and tutorial content, and tools like Video Asset Manager, Vindexr, and Focus analyze the footage once and keep the results searchable from any future project.
What a small library does is make the other methods manageable. Under roughly 10 hours of footage, scrubbing with JKL shortcuts can be fast enough. Markers and bins work well for logging selects when everything lives inside one project file.
Past that volume, scrubbing takes too long, and markers are locked inside old project files where the current project can’t see them. The same thing happens when footage gets reused across projects. That’s where library-level search tools earn their setup cost: the analysis lives outside any NLE project, so a clip logged once stays findable from any future timeline.
Most editors end up combining methods: transcript search for dialogue clips, AI visual search for silent b-roll, markers for the current project, and scrubbing for quick checks during a session. The goal is knowing which one to reach for and when.